We continue on our journey of mixing colors and start to learn the difference between primary colors and secondary colors; the name of the colors you get when mixing primary colors together in different combinations. This was a game we played at circle. Each child was given a heart and had to figure out if the color they had was primary or secondary and then they put it in the appropriate basket. As you can see, they mastered this game very well!

 |
| Here, we started with plain colored playdough and used markers to color the playdough with primary colors. Next, we mixed the colors together, two at a time to get our secondary colors. |

 |
| The children had to work with the playdough for a bit to mix the colors properly. |

 |
| It was hard work and a little tricky to color our playdough. |

 |
| Next color experiment...shaving cream! The colors didn't come out as colorful as I was hoping, but it still showed how mixing primary colors together yields new colors. |

 |
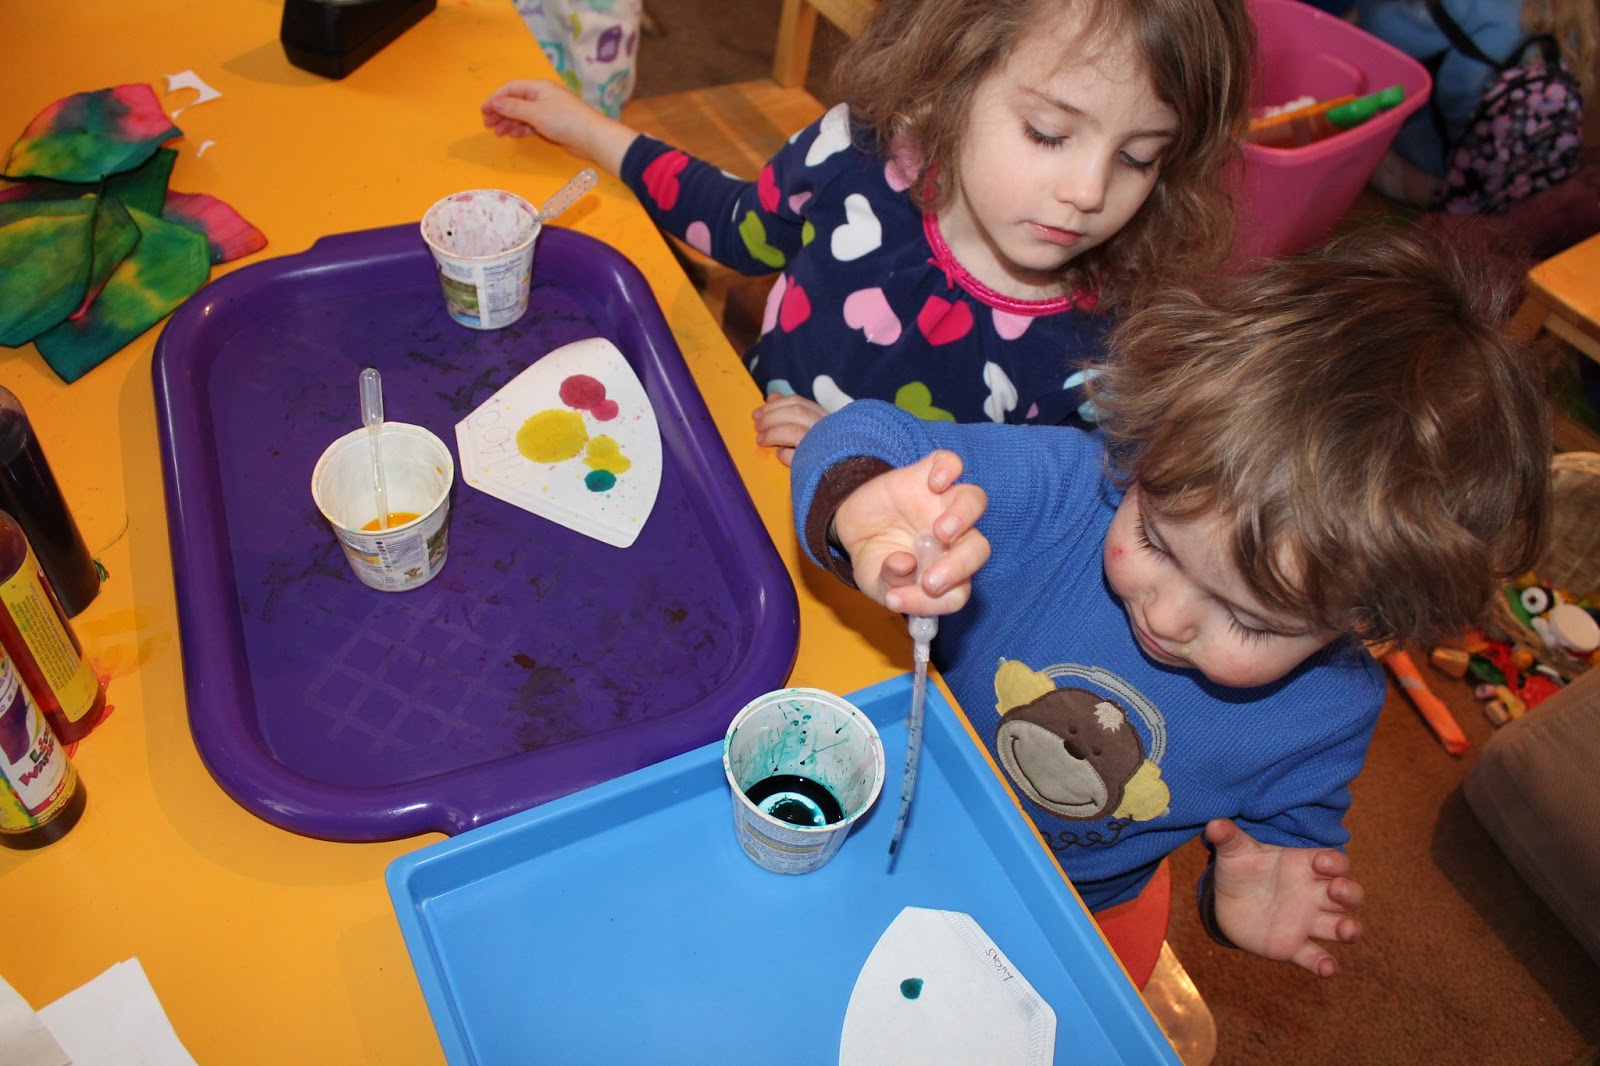
| This experiment was as bright and colorful as I had hoped. The children were given coffee filters and pipettes. As we have been doing, they had the 3 primary colors to start, and mix together to make their secondary colors. This child really got engaged in this project. Observe his concentration as he carefully drips colors together to make new ones. |
 |
| This child kept the primary colors separated at first, and then started experimenting by adding drops of color to the primary colors to create secondary colors. |