Monday, December 31, 2012

PAJAMA DAY!!!

We made some pipe cleaner snowflakes with wintery colored pony beads.  Some children chose to make AB patterns on some of the rays and some chose to just mix it up!


We also took out some peppermint scented playdough to use with cookie cutters and alphabet stampers.
Here is a snuggly little sister visiting us in her PJ's for pajama day!
Snuggling with our blankets!
This year, I gave out presents one at a time and was amazed at how excited the children were to watch their friends open their gifts.  They were so patient and excited to see what their friends got.  Once they saw it was feety pajamas, they said; "What kind did you get?"  They were also all so full of thank-yous and I just felt so blessed to have the pleasure of working with such an amazing group of preschoolers.
Different animals on these jammies...
Zebra jammies!!
Cars and trucks, just look at that smile!  He asked "How did you know I like cars?!" lol
Leopard pj's of course!!  She told her mom later "I'm glad I got the leopard ones, I like that kind."
Working together and helping each other unwrap, precious!
Owl pajamas...we both love owls!!!  
Eating popcorn and watching Frosty in our new Jammies...they couldn't wait to change and all headed to the bathroom the second the last child opened their gift...
Dancing in our Jammies!!  It rained all day, a perfect pajama day!

CHRISTMAS CRAFTS

Tracing her hand for antlers :)
The children traced and cut their hands out to make some Rudolf the Reindeer puppets!  They glued red pompom noses and added eyes and a mouth with markers.  Then they decided to have a puppet show all on their own.  Such a creative group!!!
We had such fun tracing our hands for our puppets that we thought we would try again and make some beautiful wreaths.  They came out great!!  Everyone traced their own hands and some of the kids cut out the hands on their own too.  So tricky, great fine motor practice!
The next project we worked on was to make Christmas trees.  Each child was given 5 triangles from big to small.  The children could choose to arrange the triangles however they liked, but  before they glued, they needed to lay out the pieces and make a plan (I did quickly show them how they could put the pieces from big to small, but I love that they chose to do it the way they envisioned).   Then they added circle ornaments and stars.  They also used glitter glue for decorating. 
While they were busy working, I remembered I had a bunch of ribbon, so I took it out.  They have really been into lacing, weaving, and tying the past few months so they immediately got the hole punch so they could tie their ribbons right into their pictures.  I really liked how this child chose to run the ribbon up the side and then put it across to the top of the tree.
The children really became engaged in this project and I just love how each tree was so individual.
Working with ribbon and adding the finishing touches!

1st and 2nd SNOW

We just got a dusting, but that was all they needed to be able to pull each other around in these bucket sleds.  They had a blast!!
So good for cooperation and for building muscles too.
Just look at that smile!

Our 2nd snow was big enough to make a mountain for sledding!
So tricky getting the right balance!

Preschoolers hard at work!  

Friday, December 28, 2012

STAINED GLASS ORNAMENTS

For this activity, we sorted jolly rancher candies by color, then each child chose a color to unwrap and smash with a hammer or mallet.  Then we put the smashed pieces into cookie cutters that were on a piece of parchment paper on cookie sheets.  We popped them into the oven for 5 minutes and they melted!  
We put them in plastic bags so the pieces wouldn't fly all over.
First we used rubber mallets...
Then we tried smashing with mini hammers.
Unwrapping candy.
Smashing candy with a hammer.
Placing the smashed candy into the cookie cutters
Smashing candy with a rubber mallet.
I may have left them in the oven a little too long...oops!  The children absolutely loved smashing the candy and seeing what it looked like after melting it.  

SEWING


This December, we tried our hands at sewing.  I put out some felt and real needles with embroidery thread.  The children really enjoyed putting the needles through the felt and sewing.  They were very excited to make things and said they were making quilts.  The first step was just getting used to putting the needle and thread through the felt.  Some kids made felt balls and decided to give it to their cats for toys.  As they practiced, a few of them started asking me about how to stop the felt from bending.  I explained how they could make smaller stitches closer together and that would stop it from doing that.

Just look at her concentration!
Working together and helping each other.
We also had some plastic sheets and plastic needles to use for sewing practice.

Making a felt ball cat toy.

Practicing smaller and closer together stitching.

Thursday, December 27, 2012

HANUKKAH

Some classrooms choose not to learn about holidays, but I really enjoy sharing holidays with my preschoolers.  I think it is really important to help children be aware that not all families celebrate the same way.  Each family has their own traditions, celebrations, and holidays they celebrate and some choose not to celebrate any holidays.  Being a teacher who is Jewish, I teach the children each year about the major Jewish holidays in addition to some of the other holidays throughout the year.  I want to be the first teacher to introduce and expose them to the Jewish Holidays.  I love to share things that are important to me with my preschoolers.  Last year, when I took the driedels out, they loved them so much that each time I tried to put them away, they begged me to keep them out.  Dreidels are great for fine motor strength and for being introduced to Hebrew letters that are printed on each side.  
We found this at the grocery store and had to bring it home for the children to do.  A spin on a gingerbread house, I love it!!  Putting together a Hanukkah house made of vanilla sugar cookies!
Adding blue and white sprinkles and candy balls...
Adding the finishing touches!
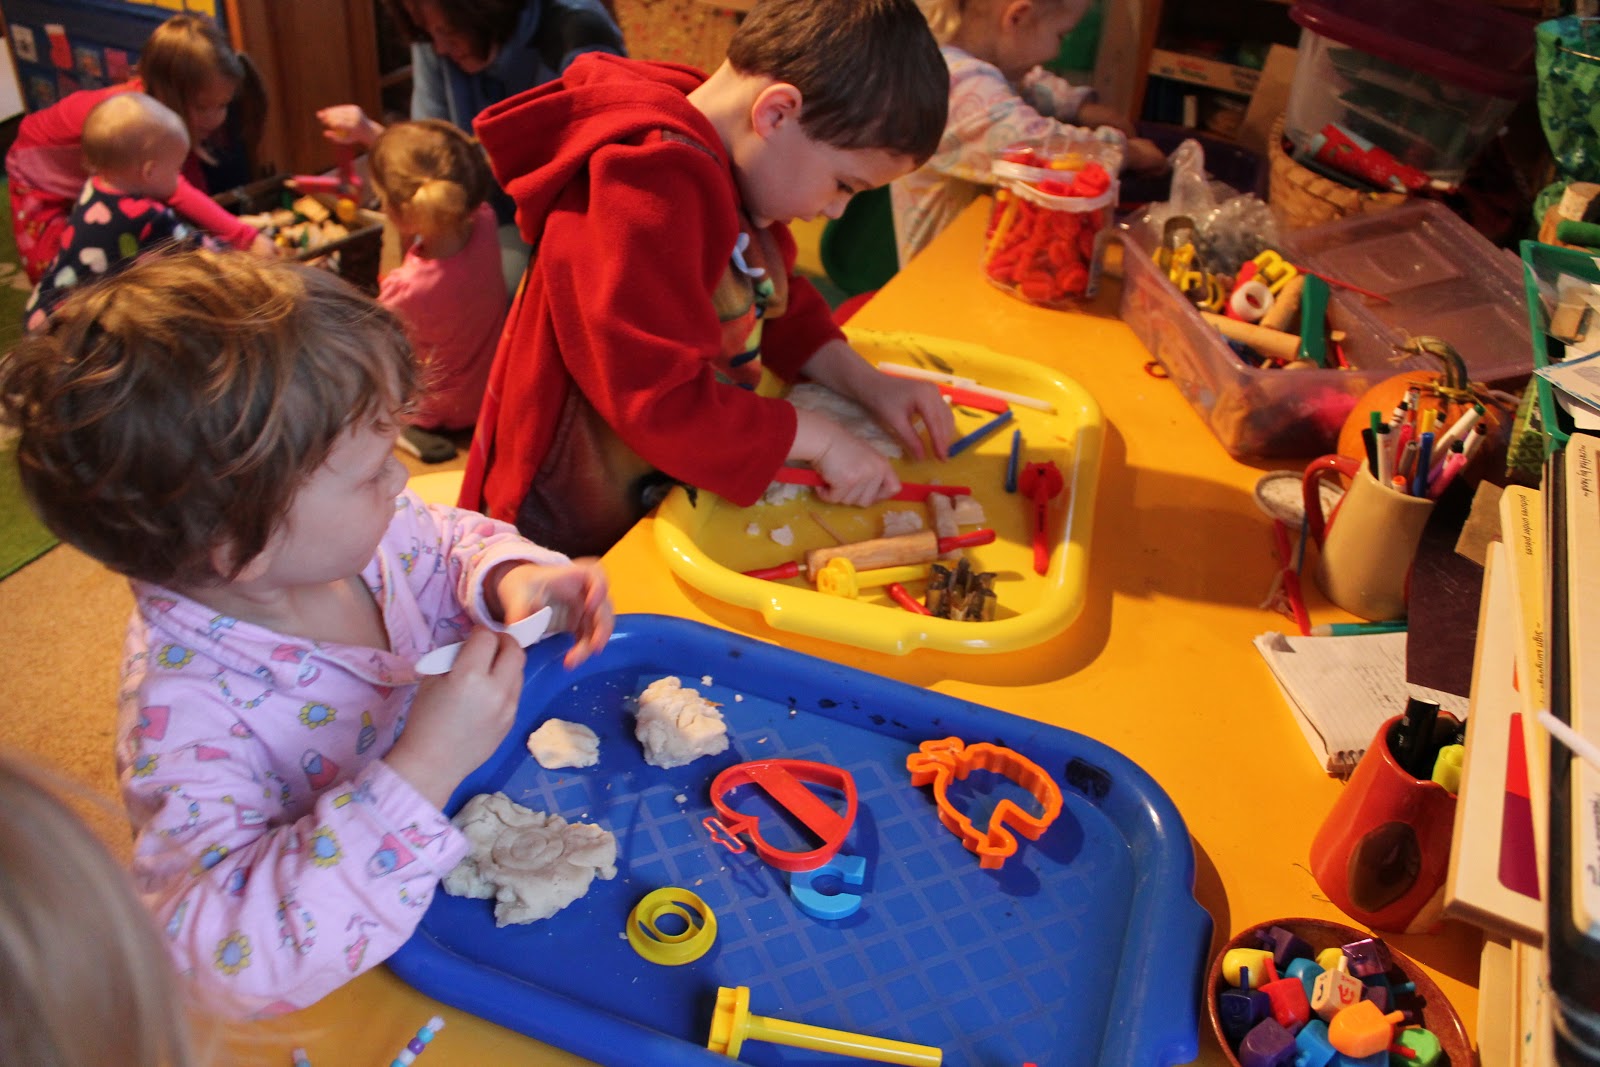
Dipping dreidels into blue and yellow paint and spinning them on paper to see the different designs they make!


Rice and fillable dreidels.
Spinning fillable dreidels
I brought the Menorah out before Hanukkah started and some of them remembered it from last year.  The children love setting up the menorah with the candles and flames and pretending to cook potato latkes.  We made real latkes later on in the week!
An AB pattern that feature colors of Hanukkah, blue and white!
The children are playing with a Little People Hanukkah set that includes a mom, dad, grandma (bubbe), grandpa (Zayde), a kid, baby and dog.  The table is set and ready for a Hanukkah feast!     
This child is using her finger to position two triangles, one right side up and one upside down to make a Star of David to decorate the paper plate menorah.

Now, for some candles and a base on the menorah...
This child is finished making his menorah, now he is writing his name.